Set Up Content Recommendations in Your Hub
Learn how to automatically recommend relevant content to your visitors to personalize their content experience and boost engagement.
Before You Begin
- To use Content Recommendations, you need to be an Account Admin.
- If you want Content Recommendations to use the recommendation engine to generate content suggestions, you must set up a Bombora integration on your Hub. For instructions, see this article.
- The Content Recommendations feature recommends content within your Hub. You can also also recommend content from your Hub on your other web properties with the separate Site Engager feature.
- Uberflip's recommendation engine is only available on certain pack types. Content Recommendations requires this, so if your pack type does not include it, this feature will not be available in your Hub. For more information about your pack type and what's included, please contact your Customer Success Manager, or Uberflip Support.
About Content Recommendations
Uberflip Content Recommendations is a content recommendation engine which can offer personalized suggestions to visitors as they browse your Hub. Using Content Recommendations can help you to surface content that's relevant to your visitors' interests, keeping them engaged with your content for longer.
Content Recommendations must be customized to your visitors' needs and interests to be valuable, so we use the recommendation engine. This allows you to serve up the most relevant content for each individual visitor. Alternatively, you can also opt to manually define Streams from which to serve recommendations.
Where Are Recommendations Shown?
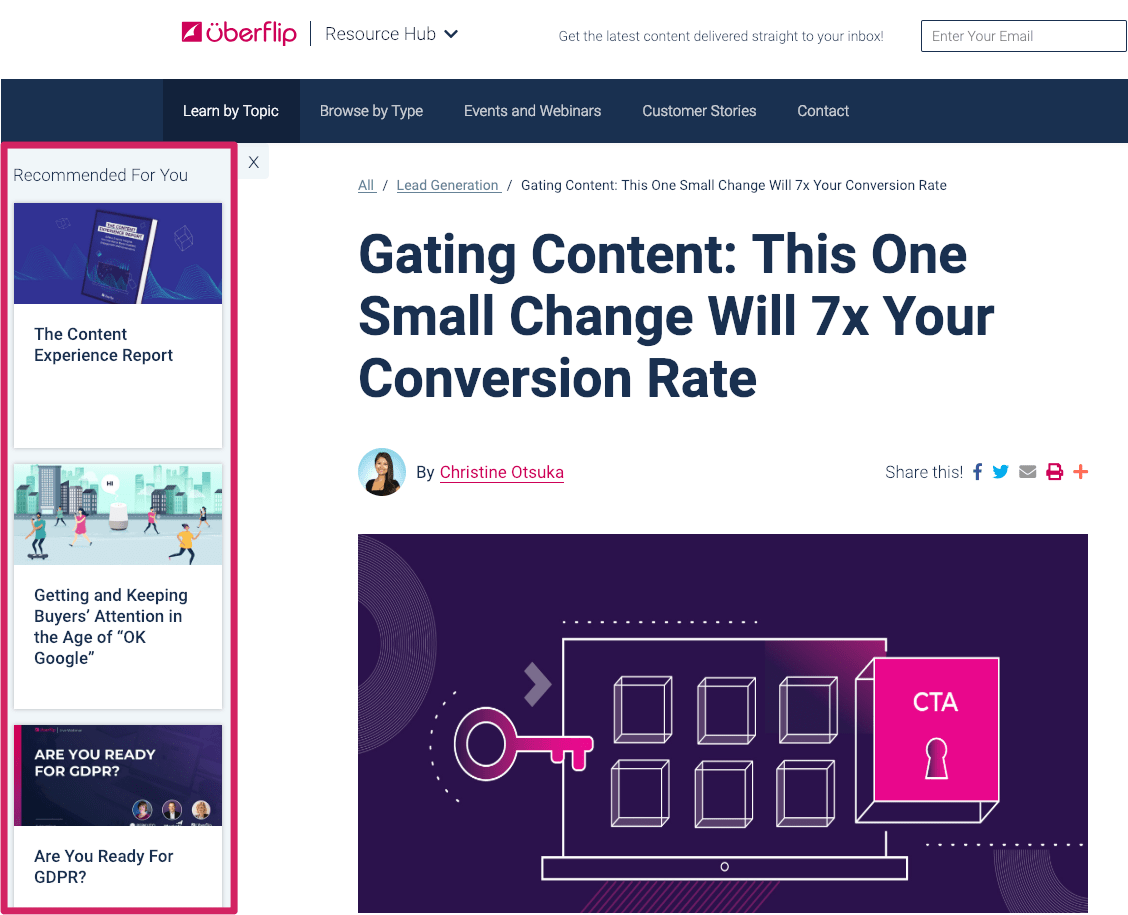
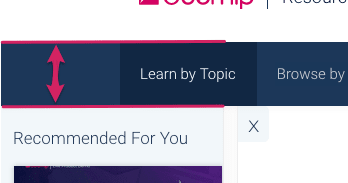
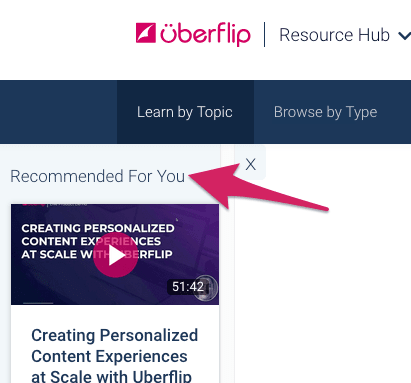
Within your Hub, recommendations are always shown beside Items, and appear in two places. They are primarily served via the recommendation panel, a sidebar that appears on the left of the screen whenever a visitor views an Item:
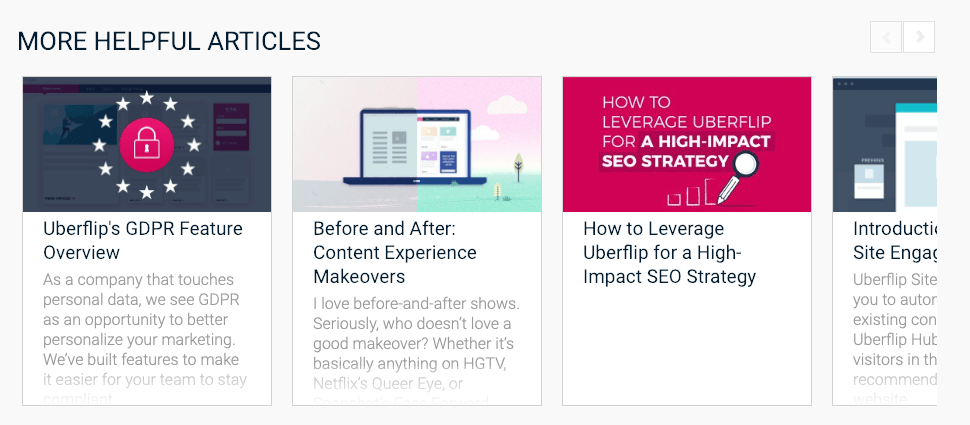
If a device's screen is too small to to display the panel (or if you disable the panel), you can also place recommendations in the More Content carousel:
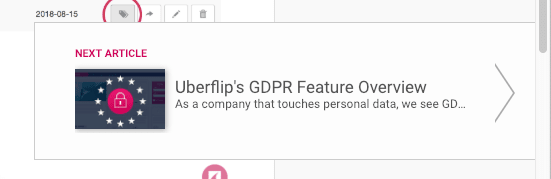
As well as in the Next Item flyout (if enabled):
In both cases, the recommendations will replace the actual next/previous Items in the Stream.
Also, note that recommendations are never shown at the Stream level — only at the Item level.
Set Up Content Recommendations in Your Hub
Content Recommendations consists of two core components, which you use to configure the appearance and behavior of recommendations in your Hub:
- Recommendation Templates determine how recommendations appear in your Hub. They allow you to define the look and feel of your recommendations, such as how many Items are recommended, how much time passes before the panel appears, etc.
- Recommendation Rules define the placement and source of recommendations. In other words, they control where in your Hub a set of recommendations will be shown, and what content will be recommended. You can enable or disable individual rules, which allows you to control whether a specific recommendation setup is active (enabled) or inactive (disabled).
You use these components together to serve recommendations in your Hub: basically, you set up a Recommendation Rule to define the details of the recommendations (i.e. the "what" and the "where"), then assign a Recommendation Template to that rule to define look and feel. Finally, you enable the Recommendation Rule to actually begin serving the corresponding recommendations on the Hub.
If you're setting up recommendations for the first time, we recommend that you begin by creating a Recommendation Template (to set up the look and feel). You can then create your first Recommendation Rule and use the template you set up with it.
Manage Recommendation Templates
Create a Recommendation Template
You can create as many templates as you like for different purposes. Templates can be assigned to different Recommendation Rules, and switched out at any time.
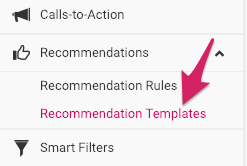
- In the sidebar menu in Uberflip, click on the Recommendations section to expand it, then click on Recommendation Templates.
- Your existing templates will be shown in the list on the right. By default, there will be only one template here, the Default Template:
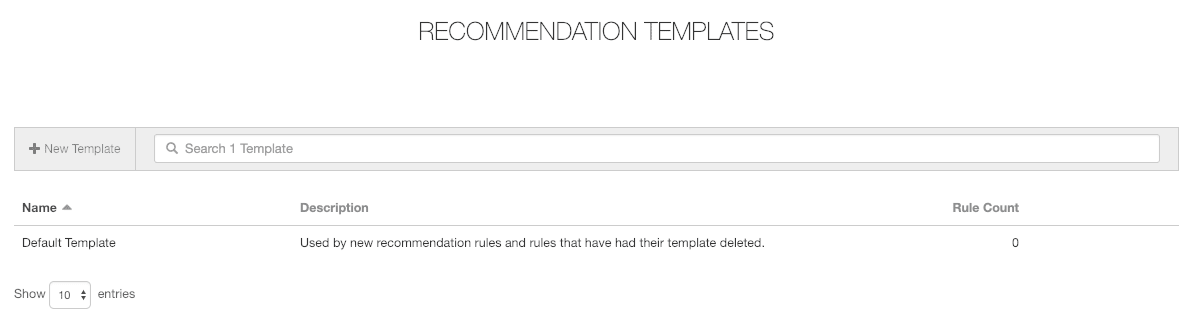
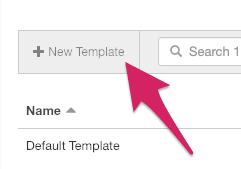
- To add a new template, click on the +New Template button in the top left:
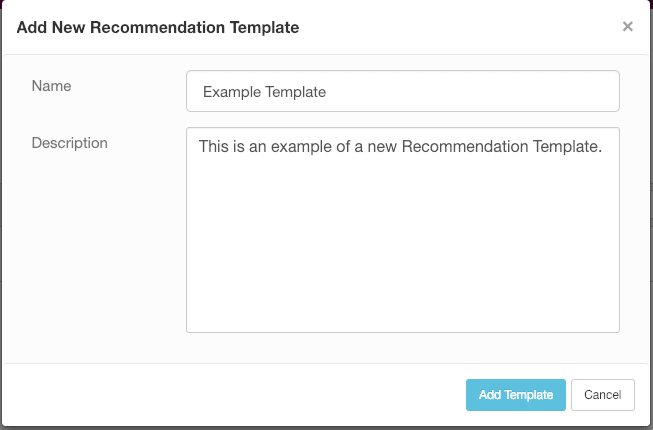
- Enter a name to identify your new template, as well as a brief description (optional) in the fields provided, then click on Add Template. (This name and description will only be visible within the Uberflip app, not to your Hub visitors.)
- The Edit Recommendation Template view will appear, where you can customize your template. See below for more details about the available options. All changes are saved automatically and applied immediately.
- You can also create new templates from the Edit Recommendation Template view by copying an existing template. To do this, click on the "hamburger" menu button in the top right, then click on Copy Template:
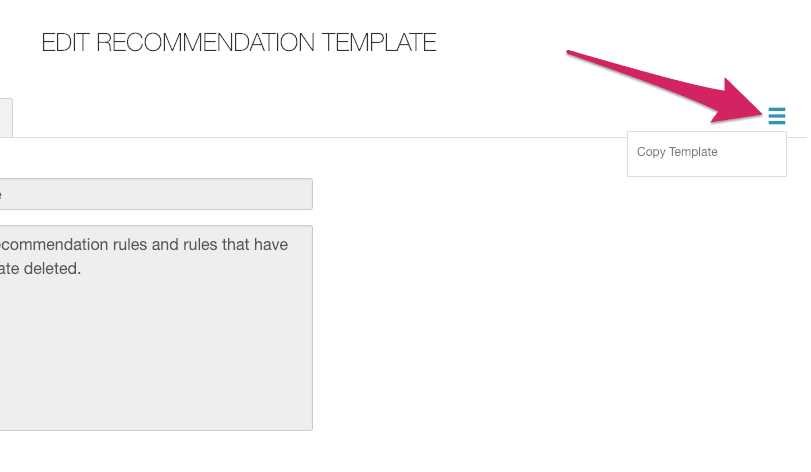
- Type in a name for the copy, then click on Copy Template. You'll be taken to the Edit Recommendation Template view for the new copy, and it will be added to your list of Recommendation Templates.
What's the Default Template?
Your Hub contains one pre-made template, the Default Template. It is automatically selected for all newly created Recommendation Rules.
The Default Template's purpose is to act as a fallback: if a custom template used by a rule is deleted, the Default Template will be used instead. As a result, the Default Template is the only template that can't be deleted — but you can modify it to suit your needs.
Edit or Delete a Recommendation Template
You can edit or delete templates at any time, even if they are currently assigned to to one or more rules.
- You can edit any existing template, including the Default Template. While viewing the list of templates (Recommendations > Recommendation Templates), hover your mouse over the template you want to edit, then click on the pencil button on the right:

- As with creating a new template, this will open the Edit Recommendation Template view.
- Deleting a template is similar to editing: hover your mouse over it, then click on the trash can button on the right. (Note that you can't delete the Default Template.)

- You'll see a prompt asking if you're sure you want to delete the template. Click on OK to confirm the deletion.
- If the template is still associated with any Recommendation Rules, this will be noted in the prompt as well. You can still go ahead and delete the template if you want; in this case, any associated rules will switch to using the Default Template instead.
Customize Recommendation Templates
You can customize the appearance of recommendations associated with a Recommendation Template using the Display Options and Labels tabs in the Edit Recommendation Template view.
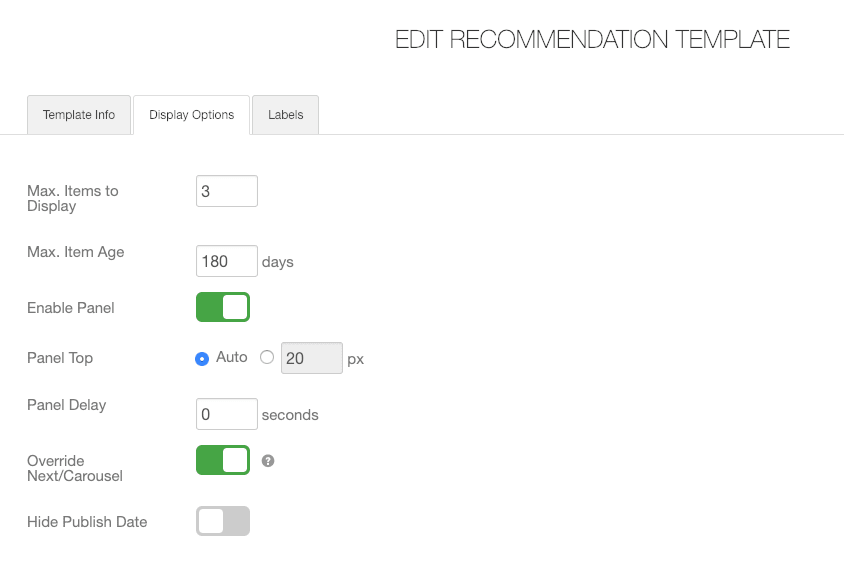
Display Options
Under the Display Options tab, you can set the following options:
| Option | Description | Default | Notes |
|
Max. Items to Display |
Sets the maximum number of recommended Items to display (either in the panel or the carousel). |
3 Items |
|
| Max. Item Age |
How old the oldest recommended Item can be. Set as a maximum number of days between the current date and the publish date, i.e. Items published longer ago than the setting not be displayed. |
180 days |
|
| Enable Panel |
Toggles whether the Recommendations panel is displayed (on the left of the screen):
|
Enabled |
|
|
Panel Top |
Controls the positioning of the Recommendations panel relative to the top of the Hub menu.
|
Auto |
Custom setting can be used to adjust position in case of overlap with custom Hub menu designs. Only takes effect if Enable Panel is set to enabled. |
| Panel Delay |
Sets the time delay, in seconds, between when the page finishes loading and when the Recommendations panel appears. |
0 seconds (appears immediately) |
Only takes effect if Enable Panel is set to enabled. |
| Override Next/Carousel |
Toggles the option to display recommendations in the More Content carousel and the Next Item flyout (if enabled), instead of the next Item in the current Stream.
|
Enabled |
If enabled, only takes effect if Enable Panel is set to disabled, or if the screen size is too small to display the panel (e.g. on mobile devices). If this option and Enable Panel are both disabled, no recommendations will be displayed. |
| Hide Publish Date |
Toggles the option to hide the publish date on recommended Items.
|
Disabled |
Labels
Under the Labels tab, you can specify the label text to be displayed at the top of the Recommendations panel, and in the More Content carousel:
The default text is "Recommended", but can be changed to anything you like:
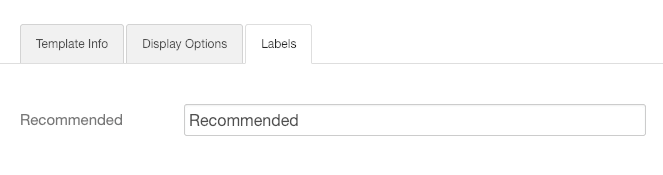
ger than about 20 characters (approximately one line of text, with spaces) will overlap the thumbnail for the first recommended Item.
If you have set Content Recommendations to override the Next Item flyout, the label text is not affected by this setting. This label can't be modified, and will always display "Next Recommendation".
Manage Recommendation Rules
Create a Recommendation Rule
Create Recommendation Rules to define where in your Hub the recommendations will appear, and what content will be recommended. You can create as many rules as you like.
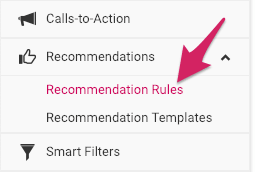
- In the sidebar menu in Uberflip, click on the Recommendations section to expand it, then click on Recommendation Rules.
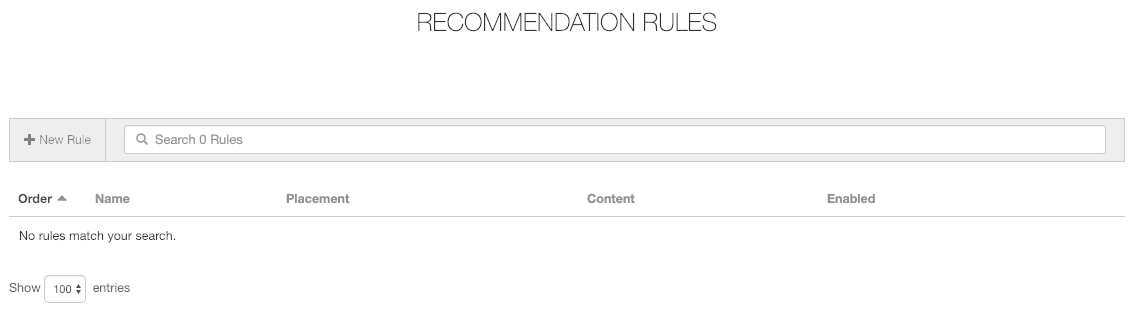
- Your existing rules will be shown in the list on the right. By default, the list will be empty:
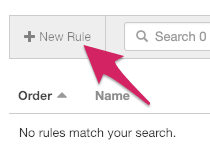
- To add a new rule, click on the +New Rule button in the top left:
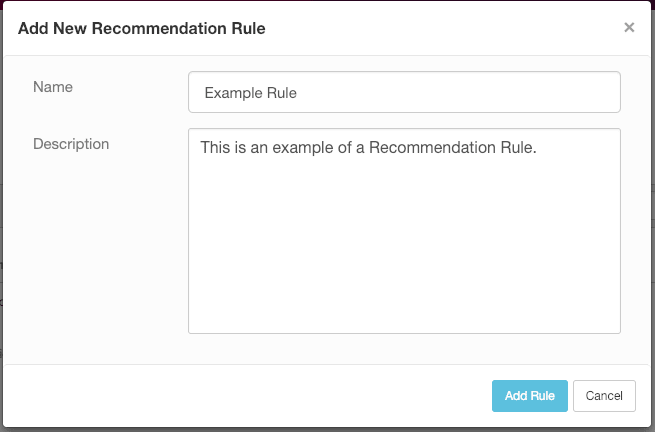
- Enter a name to identify your new template, as well as a brief description (optional) in the fields provided, then click on Add Rule.
- The Edit Recommendation Rule view will appear.
- You can also create new rules from the Edit Recommendation Rule view by copying an existing rule. To do this, click on the "hamburger" menu button in the top right, then click on Copy Rule:
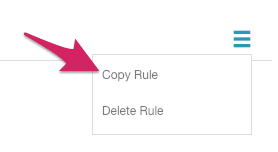
- Type in a name for the copy, then click on Copy Rule. You'll be taken to the Edit Recommendation Rule view for the new copy.
Set Up a Recommendation Rule
Once you have created a Recommendation Rule, you can configure it to specify where it will serve recommendations, and what kinds of content it will include.
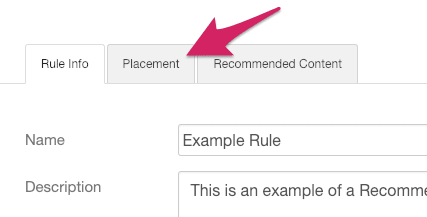
- Right after creating a new Recommendation Rule, you should be in the Edit Rule view. Here, click on the Placement tab:
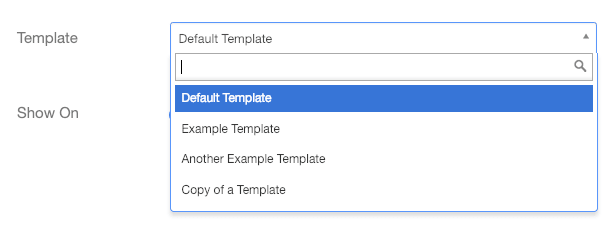
- In the Template dropdown, you should see that the Default Template is already selected. If you want to use a different template with this rule, use the dropdown to select it. (You can also go directly to your list of templates by clicking on the View Templates link below the dropdown.)
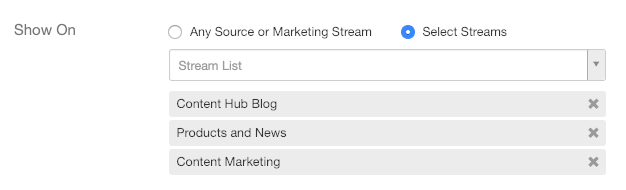
- Next to Show On, choose where you want the recommendations to be displayed:
- Any Source or Marketing Stream: Show recommendations from this rule beside all Items in your Hub (except for Items viewed within Sales Streams). Selected by default.
- Select Streams: Display the recommendations defined by this rule only beside Items in specific Streams. Click on the button next to Select Streams, then use the dropdown to choose Stream(s). Selected Streams are shown in a list below the dropdown:
- Next, click on the Recommended Content tab:

- Use the dropdown next to Recommend to choose how recommendations will be generated for this rule:
- Choose A.I. Engine to let the Uberflip recommendation engine decide which Items to recommend, using machine learning and visitor intent data. If you choose this option, you'll see Recommend Items from below the dropdown:
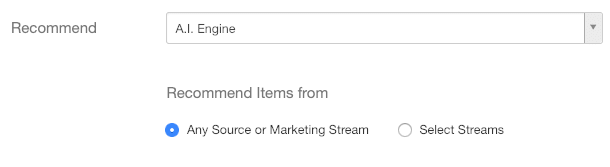
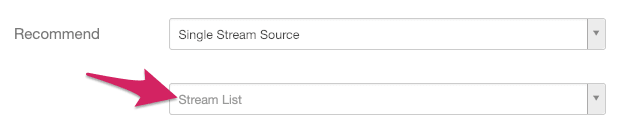
Use this setting to specify where the recommendation engine will draw recommendations from. As in Step 3 above, choose either Any Source or Marketing Stream or Select Streams. - Choose Single Stream Source if you want recommendations to be drawn from one specified Stream. If you choose this option, use the Stream List dropdown to choose the Stream you want to use:
- Choose A.I. Engine to let the Uberflip recommendation engine decide which Items to recommend, using machine learning and visitor intent data. If you choose this option, you'll see Recommend Items from below the dropdown:
- Your Recommendation Rule is now set up, and you can enable it on your Hub whenever you're ready.
Enable and Disable Recommendation Rules
To activate a Recommendation Rule so that it starts serving recommendations, you must enable it. Likewise, to stop it from serving recommendations, simply disable the rule.
- You can enable individual rules directly from the Recommendation Rules list. To do that, navigate to Recommendations > Recommendation Rules, then find the rule you want to enable in the list.
- Next to the rule you want to enable, on the right side, click on the toggle switch under the Enable column to set it to the on (green) position:

- This will enable the rule, and your Hub will soon begin serving recommendations according to the rule's settings.
- To disable a rule, simply switch the toggle under Enabled back to the off (grey) position:

- Your Hub will immediately stop serving recommendations as defined in the disabled rule (but will still serve recommendations according to any other enabled rules).
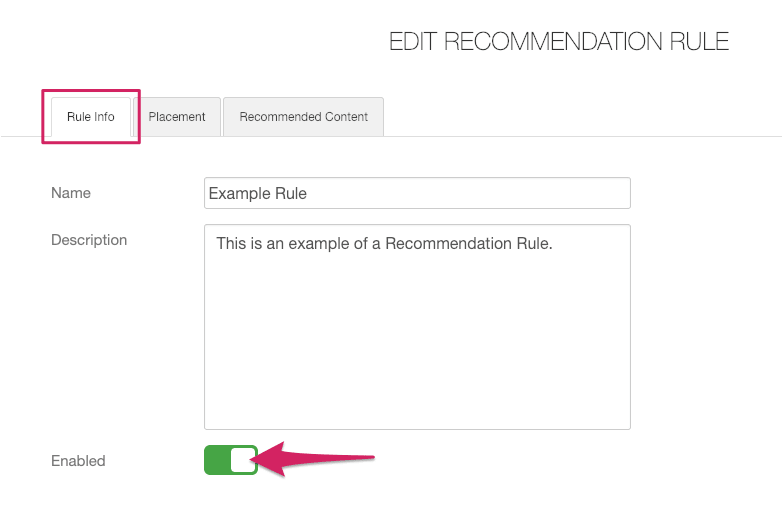
- You can also enable and disable rules while you're in a rule's Edit Recommendation Rule view on the Rule Info tab:
Note:
If you have set up a Recommendation Rule powered by the recommendation engine, it can take 3-4 days for recommendations to start appearing. This is because the engine takes a little while to collect the data it needs to provide meaningful recommendations for visitors.
Note that your Hub must have visitors in order for the recommendations to be generated. The recommendation engine also uses Bombora intent data, and Bombora likewise requires visitors to generate this data. If you only recently set up your Bombora integration and it has not yet collected enough visitor data, this means you won't see any engine recommendations yet.
Edit or Delete a Recommendation Rule
You can edit or delete rules at any time, even if they are currently enabled. (Deleting an enabled rule will also deactivate it.)
- You can edit any existing rule. While viewing the list of rules (Recommendations > Recommendation Rules), hover your mouse over the rule you want to edit, then click on the pencil button on the right:

- As with creating a new rule, this will open the Edit Recommendation Rule view.
- Deleting a rule is similar to editing: hover your mouse over it, then click on the trash can button on the right.

- You'll see a prompt asking if you're sure you want to delete the rule. Click on OK to confirm the deletion.
Set Recommendation Rule Order
You can set up Recommendation Rules in such a way that multiple rules can apply to a given Stream. In such cases, the order of your rules will determine which rule takes precedence and serves recommendations on Items in that Stream.
To illustrate, consider this setup:
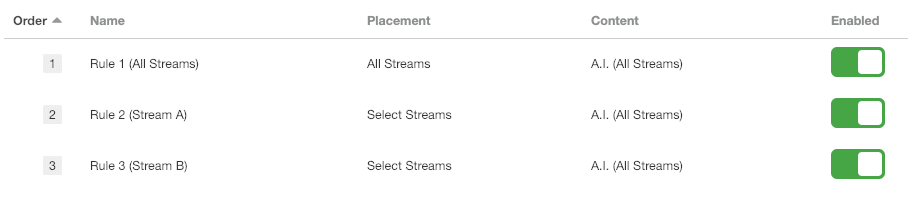
You can see in the parentheses beside the rule names which Stream(s) each rule applies to. Here's how it breaks down:
| Stream A | Stream B | Other Streams | |
| Rule 1 | • | • | • |
| Rule 2 | • | ||
| Rule 3 | • |
As you can see, Rule 2 is designed to apply to only Stream A, and Rule 3 is designed to apply to only Stream B. However, Rule 1 is an All Streams rule, so it also applies to both Stream A and Stream B. This creates a conflict with the other rules.
To resolve the conflict, we can adjust the rule order to determine priority. When ordering conflicting rules, you want the rule with the narrowest scope to have the highest priority. That way, a rule scoped to just one Stream will only apply to that Stream, while more widely-scoped rules will apply to all Streams that don't have their own rule.
In this case, we can just bump Rules 2 and 3 above Rule 1 in the order, like this:
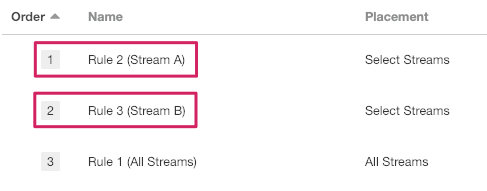
Now, Rule 2 takes priority over Rule 1 for Stream A, and Rule 3 takes priority over Rule 1 for Stream B. For all Streams other than A and B, Rule 1 will apply. (Note that the order of Rules 2 and 3 relative to one another doesn't matter, as they do not conflict.)
To modify the order of Recommendation Rules:
- While viewing your list of Recommendation Rules (Recommendations > Recommendation Rules), find the rule you want to reorder.
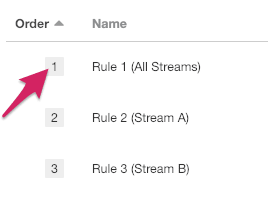
- Click on the number in the Order column for the rule:
- Type in the new position in the order where you want this rule to appear (or use the arrow buttons), then press Enter:
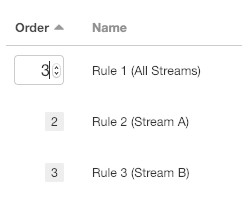
-
The rule will be moved to the chosen position in the order, and the other rules in the list will be automatically reordered to accommodate the change (i.e. they will be shifted up or down the order by one position as needed):
Best Practice: The "Catch All" Recommendation Rule
We recommend creating a "Catch All" Recommendation Rule to serve recommendations anywhere that no Stream-specific rule exists. This rule should offer general recommendations (ideally powered by the recommendation engine), and you should make sure that it is set to the lowest position in the order so that all Stream-specific rules take priority.