GDPR Feature: Hub Privacy Options
Learn how to use a Privacy Banner, Privacy Policy Page and Privacy Groups to make your Hub GDPR-compliant.
Before you Begin
- To configure Hub Privacy Options, you need to be an Account Admin.
- You'll likely need to work with your legal department to develop the text for your Privacy Banner and Privacy Policy Page.
- You will also need to know if you are using any custom tracking scripts on your Hub.
What are the Hub Privacy Options?
To comply with GDPR, you must notify visitors to your Hub of any cookies or tracking scripts that exist on your Hub, clearly explain how their data will be used, and give them the ability to opt-in/out at any time. To accomplish this, you can use the Hub Privacy Options. These are:
- Privacy Banner: A pop-up privacy banner that appears at the bottom of your Hub to provide the GDPR-mandated notification about privacy and cookies.
- Privacy Policy: A page which outlines your full privacy policy, and allows visitors to manage their privacy settings.
- Privacy Groups: Set up more granular privacy options which Hub visitors can configure on your Privacy Policy page.
Set up a Privacy Policy Page
This page is where you will make your complete privacy notice available to visitors to your site. It also gives users the ability to control their privacy settings (which you configure with the use of Privacy Groups).
Typically, you'll need to get the text for this page from your legal department. We also recommend including the contact information for your company's main privacy officer, whom visitors can contact with any privacy-related questions.
- Log in to your Uberflip account.
- Click on Hubs and select the Hub you want to work with.
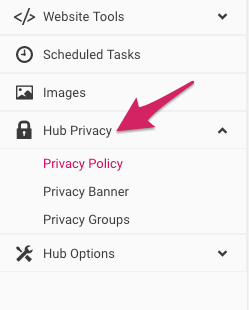
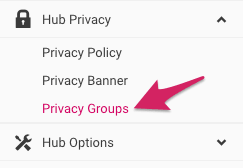
- In the sidebar menu on the left, click on Hub Privacy.
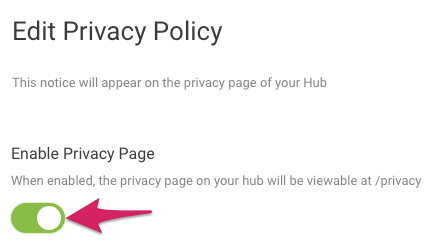
- By default, you should be on the Edit Privacy Policy section. In the settings on the right side, toggle the switch next to Enable Privacy Page to the on (green) setting to enable the Privacy Policy Page.
- Under Page Title, modify the page's headline (if desired), or leave it on the default title ("Privacy Policy").
- Under Privacy Policy, type (or, more likely, paste) your organization's privacy policy. You can also use the editor tools to format the text as needed.
- Any changes you make here will be saved automatically, and will be immediately applied to your Hub. You can view your privacy policy page by appending /privacy to the end of your Hub URL, e.g. https://resources.mycompany.com/privacy
Set up a Privacy Banner
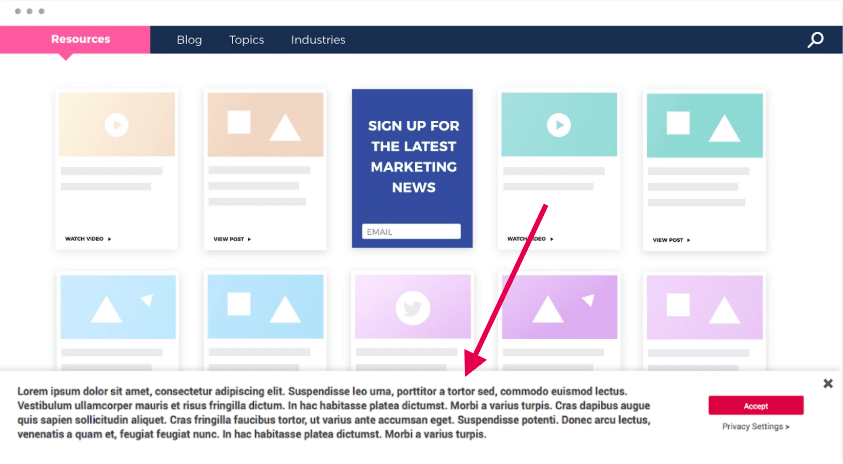
The GDPR requires that you notify users about cookies and your privacy policy when they visit your website, and allow them to either opt-in or opt-out. You can do this in your Hub by enabling the Privacy Banner, which is displayed as a pop-up banner at the bottom of your Hub. Aside from notifying visitors, it also allows the following interactions:
- Accept button: If clicked, the visitor provides consent to all cookies.
- X button: If clicked, the visitor dismisses the banner and withholds consent.
- Privacy Settings link: If clicked, takes the visitor to your Privacy Policy Page, which contains a more detailed version of your privacy policy (only appears if Privacy Policy Page is enabled).
- In your Hub's sidebar menu on the left, click on Hub Privacy, then click on Privacy Banner.

- In the settings on the right side, toggle the switch next to Enable Privacy Banner to the on (green) setting to enable the Privacy Banner.

- There are two text fields to configure:
- The first, under First Visit Message, is the message displayed to Hub visitors on their first visit to your Hub.
- The second, under Policy Update Message, is the message displayed to users who have previously clicked Accept on the First Visit Message when you make changes to your Privacy Groups. For more information, see the section on Privacy Groups below.
- The Accept Button setting allows you to configure if you want to allow visitors to blanket-accept all Privacy Groups:
- If set to on (green): Visitors can click a button to opt-in to all Privacy Groups.
- If set to off (grey): Visitors must visit your Privacy Policy Page to individually opt-in to any Privacy Groups.
- Regardless of the option you choose, visitors will also still see an X (close) button in the Privacy Banner to dismiss the banner. If a visitor dismisses the banner with this button, this means they are choosing not to opt-in to any Privacy Groups (i.e. reject all cookies).
- The Button Caption and Button Color settings allow you to customize the text and color of the Accept Button, if it is enabled.
- Any changes you make here will be saved automatically, and will be immediately applied to your Hub.
Set up Privacy Groups
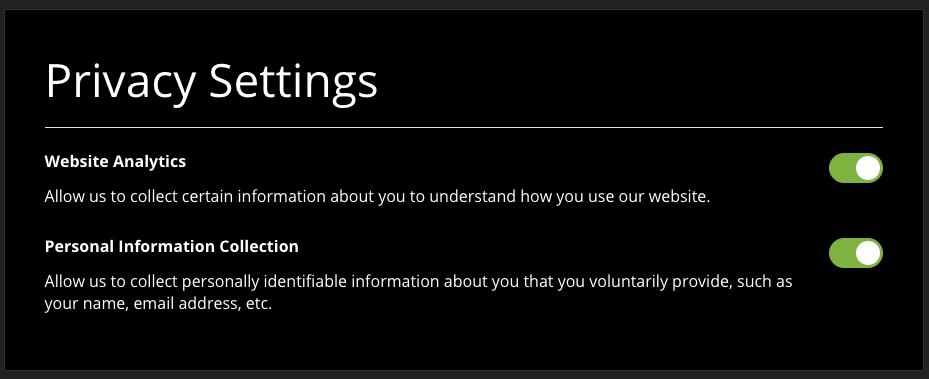
You use Privacy Groups to give your Hub's visitors more granular control over their privacy settings. Each Privacy Group you create corresponds to a setting shown on the Privacy Policy Page, and represents one or more ways your Hub collects customer data.
For example, you can use Privacy Groups to bucket similar types of trackers (e.g. Google Analytics, Bombora, etc.) that visitors can collectively opt into or out of of with a single setting:
Privacy Groups interact with the other Privacy Options in the following ways:
Privacy Policy Page
- The Privacy Groups and their descriptions appear as individual settings at the bottom of your Privacy Policy Page.
Privacy Banner
- If enabled, clicking the Accept Button on the Privacy Banner will opt-in the visitor to all Privacy Groups at once.
- If you make a material change to any Privacy Group, you can trigger the Policy Update Message to appear for users who have previously opted-in to that Privacy Group (either individually, or as part of a blanket acceptance). See below for more information.
Here's how to set up Privacy Groups:
- In your Hub's sidebar menu on the left, click on Hub Privacy, then click on Privacy Groups.
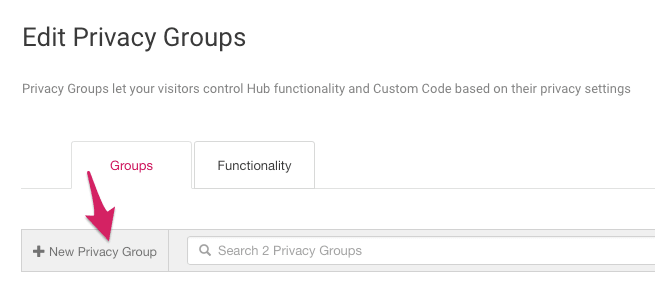
- On the right side, you should see the Edit Privacy Groups settings. On the Groups tab, click on +New Privacy Group.
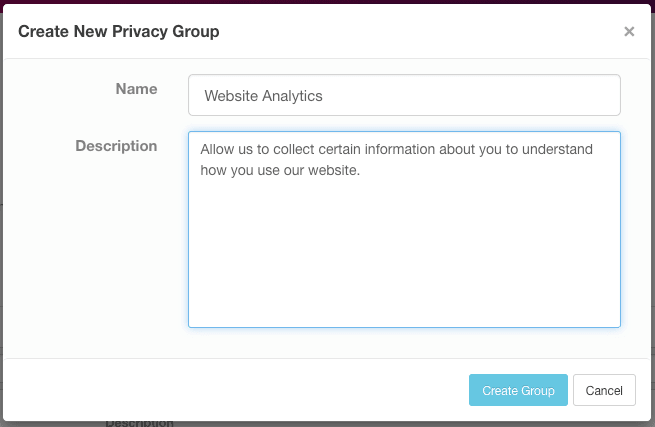
- The Create New Privacy Group window will appear. Here, type in a Name and a Description for this Privacy Group.
- Keep in mind that both the name and description will be visible to Hub visitors on your Privacy Policy Page.
- For GDPR compliance, you should describe what the setting does (what kind of information is collected, why, etc.) in plain language in the Description field.
- Click on Create Group to create this group, then click on Privacy Groups in the sidebar menu on the left again to return to the main Edit Privacy Groups page.
- Repeat this process for each of the Privacy Groups you want to use.
- Return to the Edit Privacy Groups menu and click on the Functionality tab.
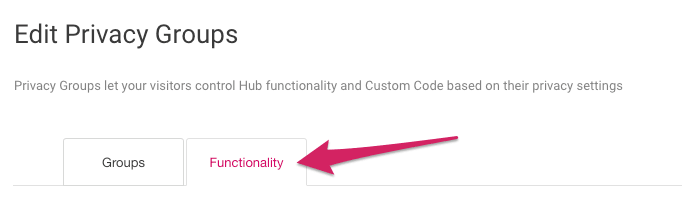
- You will see a list of services which collect visitor information on your Hub. Next to each one, use the dropdown menu to assign the service to a Privacy Group.
- When you assign a service to a Privacy Group, any information it is able to collect is governed by that Privacy Group's setting, i.e. if a visitor opts-out of a Privacy Group, none of the services assigned to it will be able to collect data for that visitor (and vice-versa).
- Only built-in trackers (via Integrations) will be displayed here. If you use custom trackers, you must link their Custom Code Block to a Privacy Group separately. For help, see this article.

- Your changes will be saved automatically.
- You can make changes to a Privacy Group at any time on the Functionality tab, but keep in mind that you must both update the group's description, and notify visitors of the change as well as ask them to opt-in again.
- To change the description, go to the Groups tab on the Edit Privacy Groups menu and hover your mouse over the group, then click on the Edit button on the right
- You can also delete a group here by clicking on the Delete button.

- You can also delete a group here by clicking on the Delete button.
- Your changes will be saved automatically.
Notify Visitors of Privacy Settings Changes
If you make any material changes to a privacy setting (e.g. if you change the kind of information a Privacy Group collects), you have to ask users who previously consented to that setting to provide consent again. You can do this with the Policy Update Message under the Privacy Banner settings.
- Begin by setting up a Policy Update Message. Go to Hub Privacy > Privacy Banner and enter the notification text explaining the change into the Policy Update Message field. Your changes will be saved automatically.
- Next, go to Hub Privacy > Privacy Groups. In your list of Privacy Groups, find the group that you made the change to and hover your mouse over it.
- On the right side, click on the Refresh button. This will automatically trigger the Policy Update Message to be shown to users who had previously opted-in to this Privacy Group.
