Sales Assist: Add a gate CTA or passphrase to a DSR
Want to gather information on a visitor before they dive into your content? Looking to ensure your Digital Sales Rooms (DSR) are only seen by prospects at the company you created them for? Gate CTAs and passphrase can help with that, and this article will show you how.
What is a gate CTA?
A gate CTA is a Form CTA (designed by you) that appears as a lightbox element over a DSR. It blocks the content of the DSR from being viewed until an unknown visitor submits the information you’ve requested (or a soft CTA is skipped).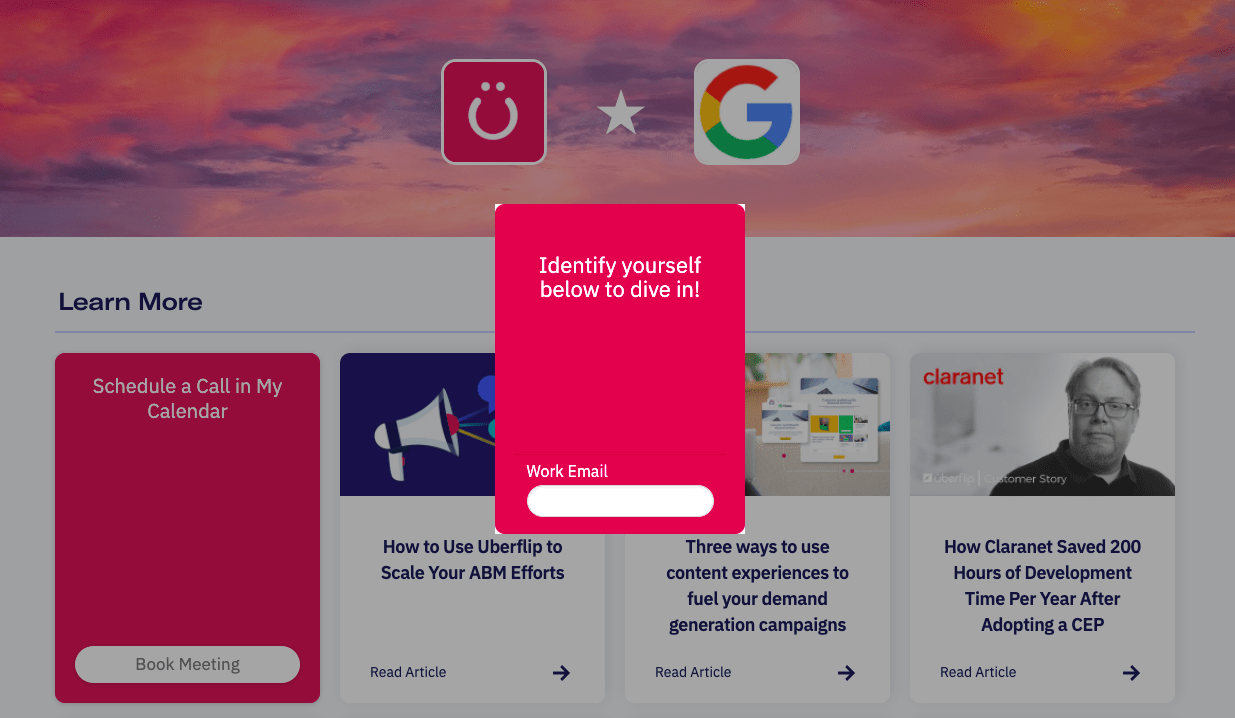
Note: Visitors who are already known in your MAP will skip the gate automatically.
There are three gate options to choose from:
- Soft
A soft gate will prompt your visitor for their information, but the visitor can choose to skip the gate if they’d like. - Hard
A hard gate requires an email (from any domain) to be entered by the user for them to access the DSR. - Protect
A protect gate requires the viewer to enter an email from the prospect domain you’ve set for that DSR.
Caution
While a protect gate is a great way to ensure you gather new contacts, a savvy visitor may be able to find their way around it. To protect a DSR containing sensitive information, use a passphrase, or pair a protect gate with a passphrase for max security.
Configure a gate CTA
To enable your Sales Reps to add gate CTAs to their DSRs, you must first configure the gate CTA settings in Sales Assist, here’s how:
- In the topbar menu of Uberflip, click Marketplace > Installed apps
- Find Sales Assist and click the pencil icon to the right of it
- Scroll to the CTA ID section
- Ensure the CTA ID listed is for the Form CTA you want to use as your gate. If it's not, grab the correct CTA ID (Calls-to-Action > Form Calls-to-Action) and enter it here.
Still using Flipbot?
Using the same CTA ID in Flipbot and Sales Assist will cause issues. We don’t recommend using these two apps together at your company, and suggest using only Sales Assist moving forward. But if you’re not ready to give up Flipbot, please use a different CTA ID in Sales Assist.
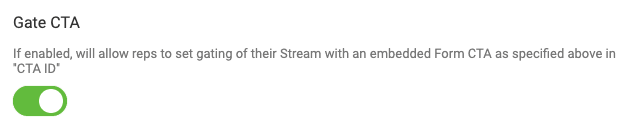
- Scroll to the Gate CTA section
- Toggle on the Gate CTA feature
- Optional: Under GATE CTA > Delay, choose the time delay (in seconds) for when the CTA will pop up for the visitor
- Optional: Under Gate CTA > Dismiss Label, add a label that appears under soft gates, which indicates to the visitor that it can be skipped
Pass the share token to your MAP
If you want to capture the share token in your Marketing Automation Platform (MAP), you can set up field mapping for this now.
- When creating or editing the CTA you’ll use as your gate CTA, add your MAP’s field of choice as a hidden field
- In the Sales Assist settings (from the above steps), under Gate CTA > Share Token Field Mapping add the ‘API Name’ assigned to the hidden field in your MAP
Find the 'API Name' in Uberflip- In the sidebar menu of Uberflip, click Calls-to-action > Form Calls-to-action
- Click the CTA you'll use as your gate
- In the CTA editor, click the pencil icon

- Beside 'Form Fields' click Manage
- Click the edit (pencil) icon beside the hidden field you're using for the share token
- In the API Name field, you'll see the API Name you're looking for
Add a gate CTA to a DSR
Once this feature is enabled in Sales Assist, DSR creators can add a gate CTA to any DSR they’d like with these steps:
- Go to the Manage Room page of the DSR you want to gate
- In the Details tab, click the Gate CTA subtab
Don’t see the gate CTA subtab? This feature may not be enabled. Contact your account administrator. - Choose which type of gate to place

- Optional: Add a custom tagline to your gate in the Override Tagline field
Your settings will auto-save immediately.
Add a passphrase to a DSR
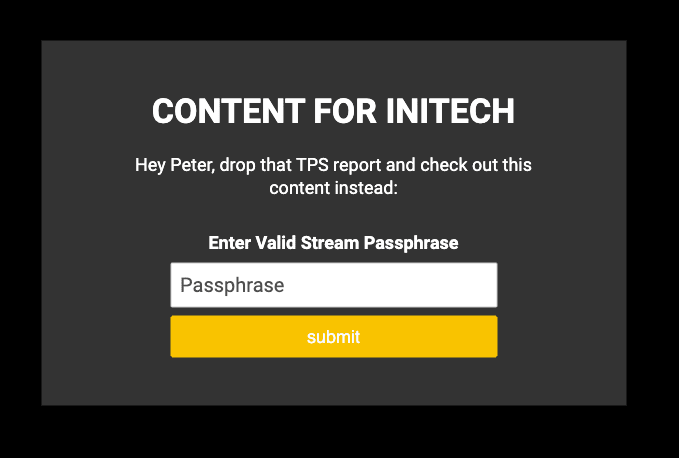
If you need to ensure that only a specific audience can view you SAR, you can protect it by adding a passphrase. Anyone who visits the DSR must enter the correct passphrase before they can view the content.
Tip
This option is especially useful for DSRs that include sensitive content, such as pricing information.
- Open the Manage Room page for the DSR you want to customize
- Under the Details tab, click Passphrase
- Enter the passphrase you want to use in the Passphrase Protect field

- The passphrase must be between 6 and 40 characters in length, and must contain at least one letter and one number.
- If the passphrase meets the requirements, you'll see a green checkmark beside the Passphrase Protect field, and the passphrase will be applied immediately. To see the change, click Preview Room:
- Lastly, don't forget to tell your prospect what the passphrase is!